Table of Contents
- Why a Rental Plumbing Inspection Matters
- What Do Plumbing Inspectors Look For
- Building Your Rental Property Plumbing Inspection Checklist
- Creating a Rental Plumbing Inspection Form
- Rental Property Plumbing Maintenance Between Tenants
- When to Call a Professional Plumber
- Conclusion
- Frequently Asked Questions
Last Updated: October 19, 2026
Why a Rental Plumbing Inspection Matters
A rental plumbing inspection protects your investment and keeps tenants safe.
Regular inspections also catch small issues early. A slow drain or minor leak is a small fix; ignored for months, it can mean water damage, mold, and structural repairs.
This guide walks you through building your own rental plumbing inspection checklist so you can assess your properties confidently.
What Do Plumbing Inspectors Look For
Professional plumbers check for visible damage, water pressure problems, and safety hazards, spotting corrosion, leaks, and aging systems tenants might miss.
Visible Pipes and Corrosion
Start with any pipes you can see: under sinks, in basements, and around the water heater.
Corrosion looks like:
- Green or white crusty buildup on copper pipes
- Rust-colored stains or flaking on steel pipes
- Discolored water coming from taps (a sign of rust inside the pipes)
Corrosion on visible pipes may extend to pipes inside your walls. Corroded pipes restrict flow and eventually fail, so this warrants professional evaluation.
Check for water stains on ceilings, walls, or floors near pipes. Even if the leak stopped, the stain signals a problem.
Water Supply and Shutoff Valves
Every rental should have a main water shutoff valve that’s easy to locate and operate.
The shutoff valve is usually near where the water line enters the building, in the basement, crawl space, or utility room.
Check water pressure at a sink faucet with hot and cold fully on.
Check the flexible supply lines under sinks and behind toilets.
Building Your Rental Property Plumbing Inspection Checklist
A checklist is only useful if you run it the same way every time. The sequence below moves from the water source outward, catching supply-side problems before testing drains and fixtures.
When to Run the Inspection
Plumbing condition changes with occupancy, season, and system age. A practical cadence for most rentals:
- Move-in: Full walkthrough with the tenant present, documented and signed.
- Periodic (roughly annually, or per your lease terms): Full checklist plus a water heater and shutoff valve check.
- Seasonal: Before the first freeze, confirm exterior and unheated-area pipes are protected; in spring, check the basement and sump pump after snowmelt and heavy rain.
Entry notice and inspection rights vary by jurisdiction and lease. Confirm local rules and lease language before scheduling any inspection that requires entry.
A Repeatable Inspection Sequence
Run the checklist in this order so one step informs the next:
- Main shutoff and supply. Locate the main valve, confirm it operates, and note its condition.
- Water pressure at a reference fixture. Use one sink as your baseline and compare other fixtures to it.
- Supply lines and connections. Check under sinks, behind toilets, at the washing machine, and at the water heater.
- Faucets and fixtures. Run hot and cold at every fixture.
- Toilets. Flush, watch refill, check the base and supply.
- Drains and traps. Run water in every sink, tub, shower, and floor drain.
- Water heater. Check the tank, connections, pan, and hot-water delivery.
- Visible piping. Look for corrosion, staining, and support problems in basements, crawl spaces, and utility areas.
- Drainage-adjacent equipment. Sump pump, laundry standpipe, and any floor drains.
- Documentation. Photos, notes, and signatures before you leave.
Safe Tests You Can Do Without Specialist Tools
These checks are safe for a landlord or property manager and don’t require opening pressurized systems or working on gas, boilers, or electrical components:
- Shutoff test: Turn the main valve off and back on to confirm it isn’t seized. If it won’t move or won’t fully close, note it for professional service.
- Pressure comparison: Run hot and cold at one sink, then compare flow at a second fixture on a different branch. A big drop between fixtures points to a branch or fixture issue; low pressure everywhere points upstream.
- Dye test on toilets: Add a few drops of food coloring to the tank, wait, and check the bowl without flushing. Color in the bowl means the flapper is passing water.
Do not open gas valves, disassemble a boiler, work inside a water heater’s electrical compartment, or attempt to clear a main sewer line yourself. If you smell gas, see sewage backing up, or find an active leak you can’t isolate with the main shutoff, stop and call a licensed plumber or the appropriate emergency service.
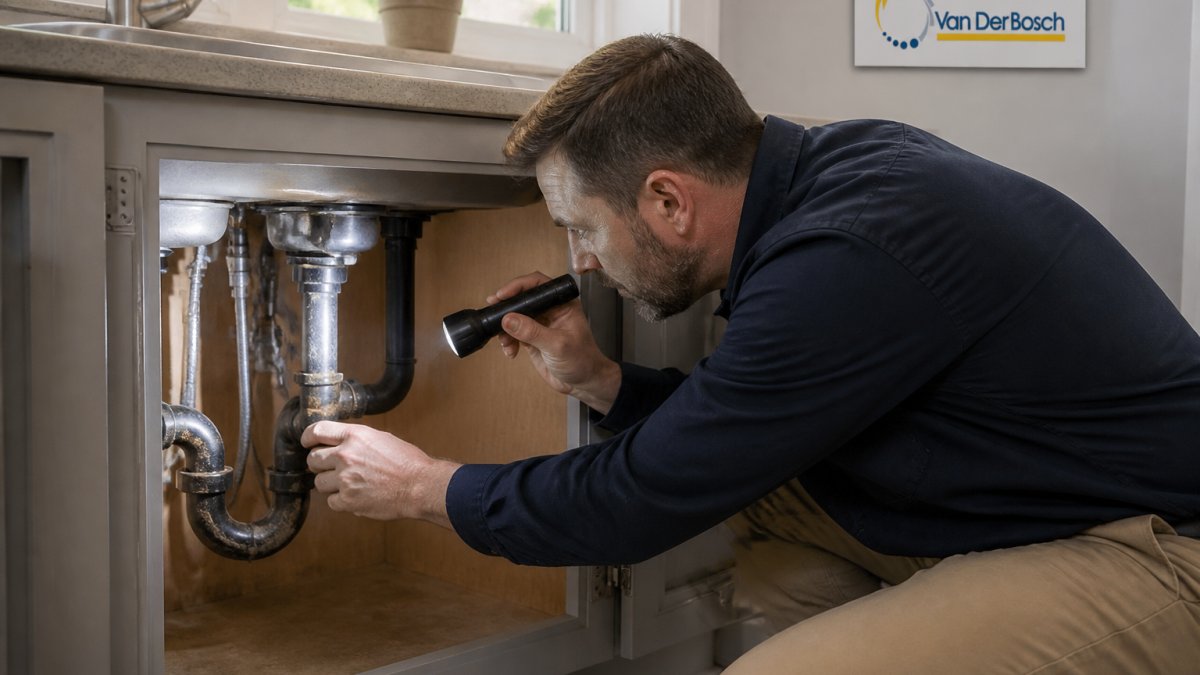
Consistent monitoring of these fixtures prevents minor drips from escalating into structural damage, serving as a vital component of your broader rental property maintenance strategy.
Faucets and Fixtures
Turn on every faucet and check hot and cold water separately.
Look for:
- Water pressure (should be steady and strong)
- Leaks from the spout or base of the faucet
- Drips or slow leaks after you turn the water off
- Discolored water (rust, sediment, or cloudiness)
A slow drip wastes water and signals a worn washer or cartridge. A leaking faucet base means water is getting behind the sink, damaging cabinets and promoting mold.
Toilets and Drainage
Flush every toilet and watch the bowl refill. A healthy toilet drains quickly and refills without hesitation.
Check for:
- Water running continuously after flushing (a sign the flapper or fill valve is worn)
- Slow drainage or incomplete flushing
- Cracks in the porcelain
- Leaks at the base where the toilet meets the floor
A running toilet wastes water continuously, and the bill is yours. A leaking toilet base damages the floor and subfloor and creates conditions for mold.
Test drains by running water in sinks, showers, and tubs. Water should drain without backing up or pooling; slow drains signal buildup or a clog farther down the line.
Water Heater and Hot Water
Check the water heater for leaks and rust at the tank, connections, and floor around it.
Test hot water at multiple fixtures.
Feel the hot water temperature. It should be hot but not scalding; excessively hot water is a safety hazard, especially for children and elderly tenants.
Visible rust or corrosion on the tank often means rust is forming inside, and the tank may be nearing the end of its life.
A checklist that always runs in the same order, uses safe tests, and records results the same way is what makes findings comparable across units and across time. That consistency is what protects you in a deposit dispute or insurance claim.
Creating a Rental Plumbing Inspection Form
A written form keeps inspections consistent and creates documentation for disputes or insurance claims.
Your form should include:
- Property address and unit number
- Date of inspection
- Inspector name
- Tenant name (for move-in/move-out inspections)
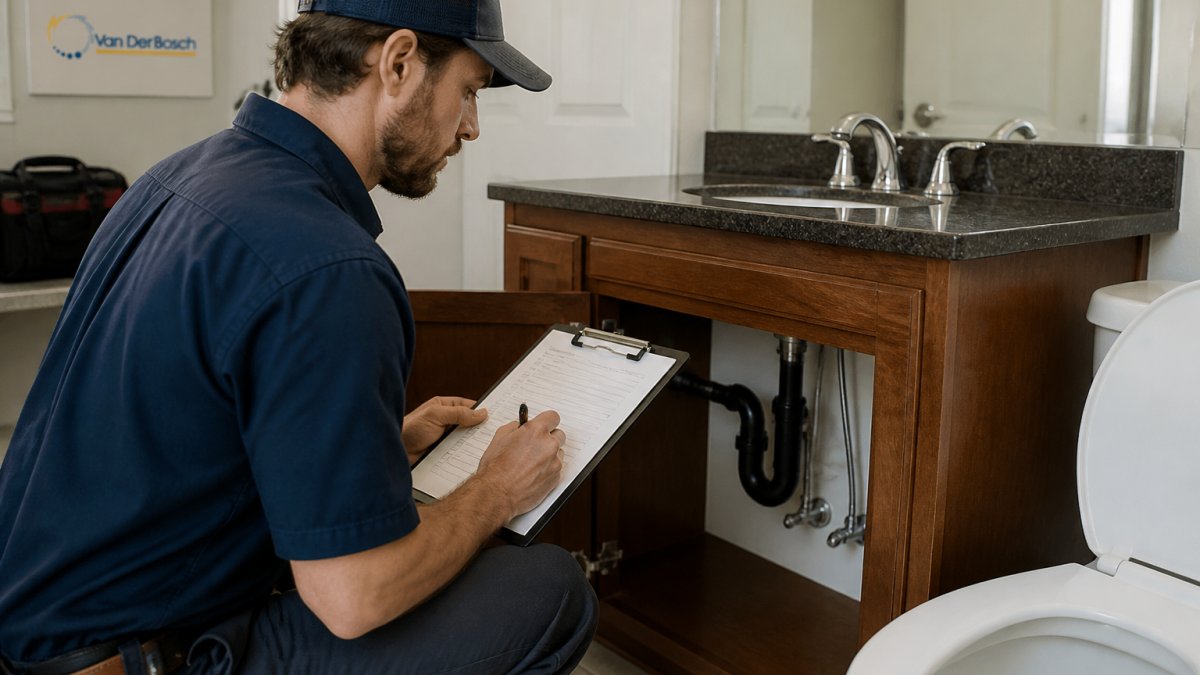
Create a separate section for each area: kitchen, bathrooms, basement, laundry room, and any other spaces with plumbing.
For each item, note whether it’s in good condition, needs minor maintenance, or needs immediate repair.
Take dated photos of any problems and attach them to your form.
Have the tenant sign the form during a move-in inspection.
Rental Property Plumbing Maintenance Between Tenants
Regular maintenance prevents emergency repairs and keeps systems running longer.
Maintenance tasks:
- Flush drains with hot water to clear buildup
- Check under sinks for leaks or water damage
- Test all shutoff valves to make sure they operate
- Look at visible pipes for corrosion or damage
If your inspection found slow drains, consider professional drain cleaning between tenants.
If you found corrosion on visible pipes, have a plumber assess whether the whole system needs attention.
Replace worn toilet flappers and fill valves. These parts are inexpensive and easy to replace. They prevent running toilets and water waste.
When to Call a Professional Plumber
Not every finding needs the same response. Sorting issues by severity helps you decide what to handle now, what to schedule, and what to monitor. This framework is a starting point, not a substitute for professional diagnosis.
Severity and Response Framework
Urgent, stop, isolate, and call now
- Active water leak you cannot stop with the main shutoff
- Sewage backing up into fixtures or floor drains
- Gas odor or a suspected gas leak
- No heat from a boiler in freezing conditions
For gas odor, leave the area, avoid operating switches or flames, and contact your gas utility or emergency services first, then a licensed plumber for the repair.
Priority, schedule service promptly
- Multiple slow drains or gurgling fixtures (possible main-line issue)
- Water pressure that has dropped across the whole unit
- Discolored water that persists after running the tap
- Water heater not delivering hot water, or rust and corrosion on the tank
Routine, schedule at your convenience
- A single dripping faucet
- A running toilet with a worn flapper or fill valve
- Loose fixture, worn supply hose, or minor mineral buildup
- Slow drain limited to one fixture with no other symptoms
What a Professional Evaluation Adds
A plumber can do what a landlord checklist can’t: pressure-test the system, camera a drain line to find the actual cause of a backup, evaluate whether corrosion is isolated or systemic, and confirm whether a water heater is repairable or at end of life. For sewer concerns, a sewer video inspection shows the inside of the line so you’re not guessing. For buildup in older lines, hydro jetting can clear stubborn deposits a cable won’t.
When a water heater is leaking, rusted, or repeatedly failing, repair versus replacement comes down to age, severity, repair history, and condition of the surrounding connections. A plumber can walk you through those factors rather than pushing replacement by default.
Repair vs. Replace: Decision Factors
Use the same factors for any major component:
- Age and expected service life relative to the equipment type
- Severity and location of the damage
- Recurring problems despite prior repairs
- Efficiency compared with current equipment
If a repair is reasonable and the surrounding components are sound, repair is often the right call. Replacement makes more sense when failures are recurring, the equipment is near end of life, or the surrounding system is already compromised.
Documentation and Compliance Notes
Keep the inspection form, photos, and any professional reports together. If a repair is recommended, note the date, finding, and action taken.
If your inspection turns up slow drains, gurgling, or repeat backups, a professional drain cleaning and camera inspection is often cheaper than waiting for a mid-lease emergency. If it turns up corrosion on visible piping, have the system evaluated before a pinhole becomes a burst pipe.
VanDerBosch Plumbing Inc. provides residential and light commercial plumbing, drain cleaning, sewer video inspection, hydro jetting, water heater service, and related repair work. If your checklist flags something you’re not sure about, schedule a professional assessment and get a clear answer before it becomes an emergency.
Conclusion
A rental plumbing inspection checklist is your first line of defense against costly repairs and tenant disputes.
Start with a simple written form that covers all fixtures and systems. Check faucets, toilets, drains, and visible pipes. Document everything with notes and photos.
VanDerBosch Plumbing Inc. is ready to help when you need professional inspection, drain cleaning, or water heater service.
Frequently Asked Questions
What should be included in a rental plumbing inspection checklist?
A rental plumbing inspection checklist should cover water supply and shutoff valves, visible pipes for leaks and corrosion, all faucets and fixtures, toilets and drainage, water heater condition and temperature, and signs of water damage on walls, ceilings, and flooring. Include sections for pass/fail ratings, notes on observed conditions, and priority levels for any repairs needed. Document findings with photographs and dates to protect both landlord and tenant interests.
How often should landlords inspect plumbing in a rental property?
Conduct a thorough plumbing inspection before a new tenant moves in and again before they move out to document condition changes. Many landlords also perform preventive maintenance inspections annually or semi-annually, especially for older rental properties. After any tenant-reported plumbing issues or water damage, schedule an inspection promptly to assess the extent of damage and plan repairs.
What are the biggest red flags during a rental plumbing inspection?
Red flags include visible water damage on walls, ceilings, or flooring; corrosion or rust on pipes; persistent dripping faucets or running toilets; slow drains or clogs; water discoloration indicating sediment or mineral buildup; low water pressure; and lack of accessible shutoff valves. Any signs of leaks, mold, or structural water damage require professional assessment. Older properties may have corroded galvanized pipes or outdated systems that need expert evaluation.
Which plumbing problems require a professional plumber?
Water heater issues, burst or frozen pipes, sewer line problems, persistent clogs that don’t respond to basic plunging, low water pressure affecting multiple fixtures, corrosion or rust on main supply lines, and any signs of water intrusion or damage require professional diagnosis and repair. Licensed plumbers can identify hidden problems, test water pressure and quality, and recommend whether repair or replacement is appropriate for aging systems.