
Table of Contents
- Why Your Water Heater Is Leaking From the Bottom
- What to Do When a Water Heater Is Leaking
- How to Identify the Source of the Leak
- Water Heater Leaking From the Drain Valve
- Water Heater Leaking From the Pressure Relief Valve
- Loose Connections, Tank Corrosion, and Tank Failure
- Water Heater Repair or Replacement: How to Decide
- Frequently Asked Questions
Last Updated: October 21, 2026
Why Your Water Heater Is Leaking From the Bottom
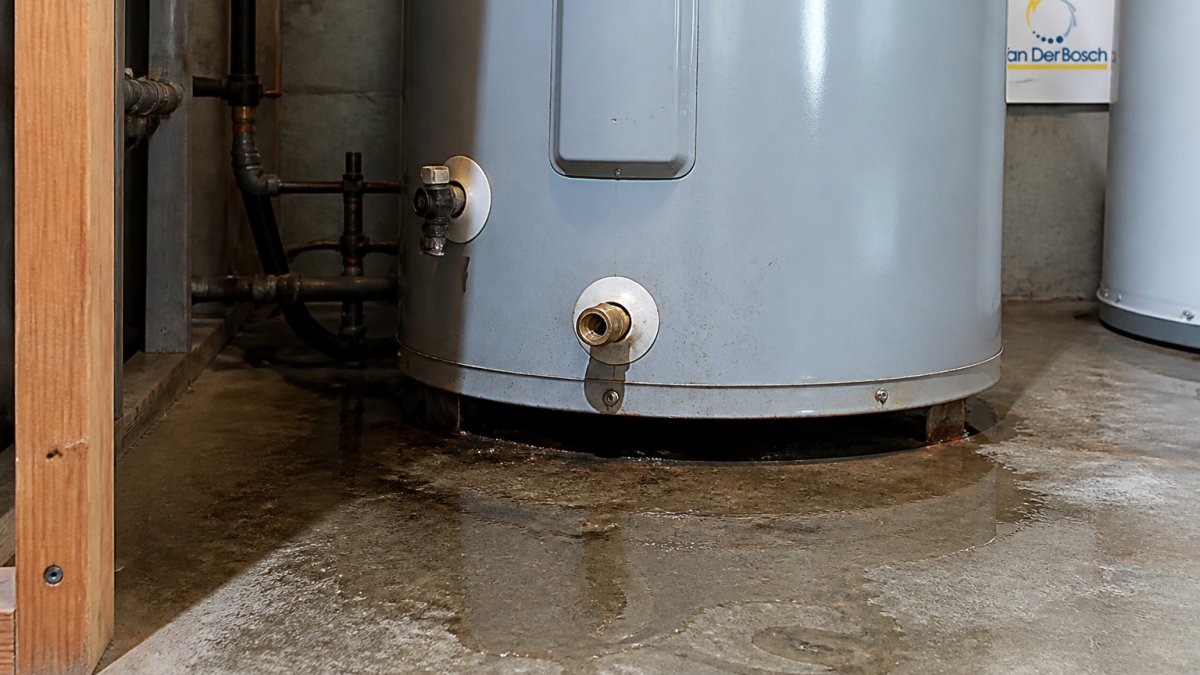
Water pooling at the base of a tank is one of the clearest warning signs a water heater is failing. If you’re wondering why your water heater is leaking from the bottom, the leak usually comes from one of five places: the drain valve, the temperature-and-pressure relief valve, a loose plumbing connection, a corroded tank, or condensation that only looks like a leak.
Most guides treat every bottom leak as a dead tank. That’s not true. Some are minor fixes; others mean the tank is finished. Telling them apart decides whether you’re looking at a repair or a replacement.
Below, we’ll show you how to find the source, what each cause means, and when to call a professional plumber.
A leaking water heater can involve electrical connections, gas lines, or pressurized hot water. If water is near the electrical panel or you smell gas, stop and call a professional immediately. Do not open panels or touch gas fittings.
What to Do When a Water Heater Is Leaking
When a water heater is leaking, shut off the water supply and, if it’s safe, the power or gas, then contain the water and call a plumber. Water spreads fast and finds every crack in a basement floor.
Work through this in order:
- Shut off the cold water supply at the valve on the inlet pipe above the tank.
- Cut the power at the breaker for an electric unit, or set the gas valve to the off position. Do not relight anything yourself.
- Contain the water with towels, a bucket, or a wet vacuum, and move anything nearby off the floor.
- Photograph the scene for insurance before you clean up.
- Call a licensed plumber to diagnose the leak source.
If the water is rising fast or reaching outlets, treat it as an emergency and get help moving. For active leaks and burst pipe situations, professional burst pipe repair and leak detection service is available for this kind of call.
The U.S. Department of Energy water heating guidance is a solid reference for understanding how these systems are meant to operate and why safety shutoffs exist.
How to Identify the Source of the Leak
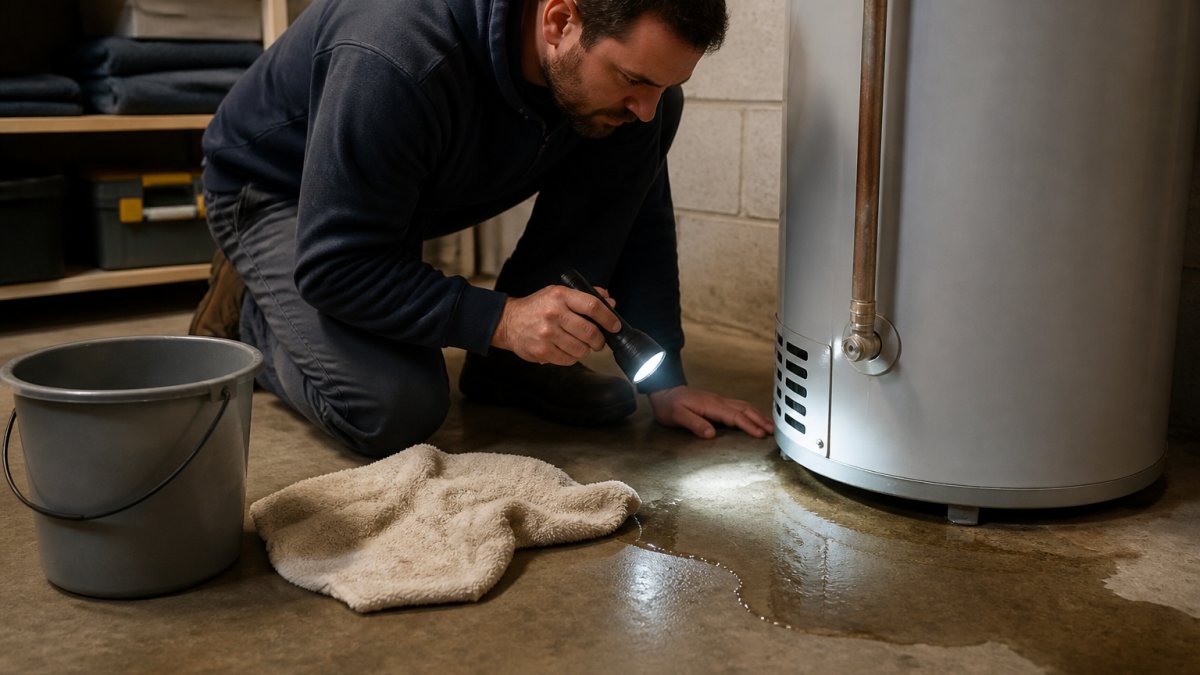
To find the source of a bottom leak, dry the base of the tank and the floor completely, then watch where moisture returns first.
Each leak point below has a distinct signature, and the location of the moisture usually points to the cause before anyone touches a wrench.
Step 1: Dry Everything and Mark the Starting Point
Wipe the tank base, the drain valve spout, the relief valve discharge pipe, and the floor dry. Place a dry paper towel or a piece of cardboard under the tank and another under the relief valve discharge. Wait two to four hours, then check. The first spot to show moisture is your lead.
Step 2: Check the Drain Valve
Look at the spout at the bottom of the tank. A drip clinging to the spout, mineral crust around the threads, or a valve that feels loose when you touch the handle points to the drain valve. This is the most common bottom leak and usually the most fixable.
Step 3: Check the Temperature-and-Pressure Relief Valve
The T&P valve sits on the side or top of the tank and has a discharge pipe that runs down toward the floor. If the paper towel under the discharge pipe is wet, especially if the valve has recently opened, the leak is coming from the relief valve, not the tank. Water from this valve can mean excess pressure, a failing valve, or an overheating condition.
Step 4: Check the Inlet and Outlet Connections
Water from a loose fitting on top of the tank runs down the side and pools at the base, which makes it look like a bottom leak. Run a dry finger along the fittings and look for a wet trail on the tank shell above the puddle. Rust streaks that start high and run down are a strong clue.
Step 5: Inspect the Tank Seam and Shell
If the base is wet but the valve, relief pipe, and top connections are dry, the leak is likely coming through the tank itself. Look for rust streaks, bubbling paint, or a visible seam leak near the bottom of the shell. A leaking tank seam or pinhole in the shell cannot be patched reliably, this is the point where replacement becomes the conversation.
Condensation Versus a Persistent Leak
Not every wet floor is a leak. Condensation forms on a cold tank when warm, humid air touches it and dries up on its own; a real leak keeps coming back. Dry the area, wait a few hours, and check again, if moisture returns in the same spot, it’s a leak. This matters most in humid basements and summer months, when a cold tank and warm air can produce alarming moisture.
If you can’t tell whether the moisture is condensation or a leak, dry the area and place a dry paper towel under the tank. A towel that stays dry rules out condensation; a towel that gets wet in the same spot points to a leak.
What the Leak Location Tells You
| Where the moisture appears | Likely cause | What it usually means |
|---|---|---|
| Drain valve spout | Worn seal or grit | Repair or valve replacement |
| Relief valve discharge pipe | Excess pressure or bad valve | Diagnose pressure, replace valve |
| Top connections running down | Loose fitting | Tighten or reseal |
| Tank seam or shell | Corrosion | Replacement |
| Base wet, all fittings dry | Condensation or tank failure | Dry-test, then inspect tank |
If you’ve worked through these steps and the source is still unclear, or if the leak is fast, near electrical components, or accompanied by a gas smell, stop and call a licensed plumber. For active leaks and burst pipe situations, our burst pipe repair and leak detection service is built for exactly this kind of call.
Water Heater Leaking From the Drain Valve
A water heater leaking from the drain valve is often the most fixable bottom leak. The valve sits at the lowest point of the tank, and it’s the first place water escapes when the seal wears out or grit gets trapped.
Common signs include:
- A slow drip from the spout, even when the valve is closed.
- A valve that won’t fully shut or feels loose.
- Mineral buildup around the valve threads.
Sometimes a valve just needs tightening or flushing; other times it needs replacement. A plumber can tell you which quickly, and if the valve is the only issue, this is a repair, not a replacement.
Water Heater Leaking From the Pressure Relief Valve
A water heater leaking from the pressure relief valve usually points to excess pressure or a faulty valve, not a cracked tank. The temperature-and-pressure relief valve is a safety device.
Water from this valve can mean:
- Excessive water pressure in the home’s supply.
- A failing relief valve that won’t seat properly.
- Overheating from a thermostat or heating element problem.
A relief valve that keeps discharging is a safety concern, not a nuisance. Don’t cap it or plug it. That valve is the last line of defense against a tank rupture.
Loose Connections, Tank Corrosion, and Tank Failure
Loose connections: The inlet and outlet fittings on top of the tank can loosen over time.
Tank corrosion and failure: Steel tanks have a glass lining and a sacrificial anode rod to fight rust. When that protection runs out, the steel rusts from the inside.
Here’s how to think about it:
| Leak Location | Likely Cause | Typical Path |
|---|---|---|
| Drain valve | Worn seal or grit | Repair or valve replacement |
| Relief valve | Excess pressure or bad valve | Diagnose pressure, replace valve |
| Top connections | Loose fitting | Tighten or reseal |
| Tank seam or shell | Corrosion | Replacement |
The CDC guidance on preventing water damage and mold is worth a read if a leak has been sitting for a while.
Check your anode rod every few years. It’s the part that sacrifices itself to protect the tank, and replacing it early can extend the life of the whole unit.
Water Heater Repair or Replacement: How to Decide
The repair-or-replace decision comes down to where the leak is and the tank’s condition. A leak at a valve or fitting is a repair; a leak through the tank wall is a replacement. That simple rule holds up most of the time.
Use these factors to decide:
- Leak location: valve or fitting means repair; tank seam or shell means replace.
- Age of the unit: an older tank near the end of its service life makes repair harder to justify.
- Repair history: repeated problems point toward replacement.
A Leak-Location Decision Framework
Use this framework to sort the situation before you call anyone:
| Leak location | Typical cause | Repair reasonable? | Replacement likely? |
|---|---|---|---|
| Drain valve | Worn seal or grit | Yes, valve repair or replacement is minor | Only if the tank is otherwise failing |
| T&P relief valve | Excess pressure or bad valve | Yes, diagnose pressure and replace valve | Only if the tank shows corrosion or age |
| Top connections | Loose fitting | Yes, tighten or reseal | Rarely |
| Tank seam or shell | Corrosion | No, cannot be patched reliably | Yes |
| Base wet, all fittings dry | Condensation or tank failure | Dry-test first | If the tank is confirmed leaking |
When Repair Makes Sense
A dripping drain valve, a relief valve that won’t seat, or a loose top fitting are all repairable without replacing the unit. If the tank is otherwise sound, no rust streaks, no bulging, no history of repeated leaks, repair is usually the reasonable path.
When Replacement Is the Better Call
A leak through the tank seam or shell is the end of the road for the unit. A rusted seam or pinhole can’t be patched reliably, and if the tank is also older, has a repair history, or shows rust streaks and a corroded base, replacement is usually the better long-term decision.
Questions to Ask Before You Decide
- Where exactly is the leak coming from?
- How old is the unit, and what is its repair history?
- Is the tank itself corroded, or is the leak at a valve or fitting?
Don’t let anyone push replacement when a valve repair will do. And don’t sink money into a rusted tank that’s on its way out. A licensed plumber should give you an honest read on both.
If replacement is the right call, we install traditional tank and tankless water heater systems, and our water heater repair and installation service covers both diagnosis and replacement. For broader context on how these systems are rated, the ENERGY STAR water heater information explains efficiency standards in plain terms.
Frequently Asked Questions
Should I turn off my water heater if it is leaking?
Yes. Shut off the water supply to the heater and cut the power at the breaker for an electric unit, or set the gas valve to the off position for a gas unit. Turning it off limits further water damage and prevents the heating element or burner from running while the tank is compromised. Then call a licensed plumber to diagnose the leak. Do not attempt to repair gas valves, relief valves, or tank fittings yourself, since these involve pressurized systems and, on gas units, open flame.
Can a water heater leaking from the bottom be repaired, or does it need replacement?
It depends on where the water is coming from. A leak at the drain valve, a loose inlet or outlet connection, or a relief valve that is discharging can often be repaired by tightening or replacing the faulty part. A leak from the tank itself, especially one that shows rust or corrosion along the seam, usually means the tank has failed and replacement is the practical option. A plumber can confirm the source and give you repair or replacement guidance based on the tank’s condition and age.
Could water near the bottom of my water heater be condensation?
It can be, especially in humid basements or when the tank is first filled with cold water. Condensation usually appears as a light film of moisture that dries on its own. A persistent puddle that returns after you wipe it up points to an actual leak. To tell the difference, dry the area completely, wait a few hours without using hot water, and check again. If water returns, treat it as a leak and have it inspected.
When should I call a plumber for a leaking water heater?
Call a plumber as soon as you notice a leak you cannot trace to condensation, or any time water is pooling near the base of the unit. If the leak is active, shut off the water and power first, then call. Signs that need prompt professional attention include rust-colored water, a tank seam that is wet, a relief valve that keeps discharging, or a gas smell near the unit. A licensed plumber can diagnose the source and recommend water heater repair or replacement.