
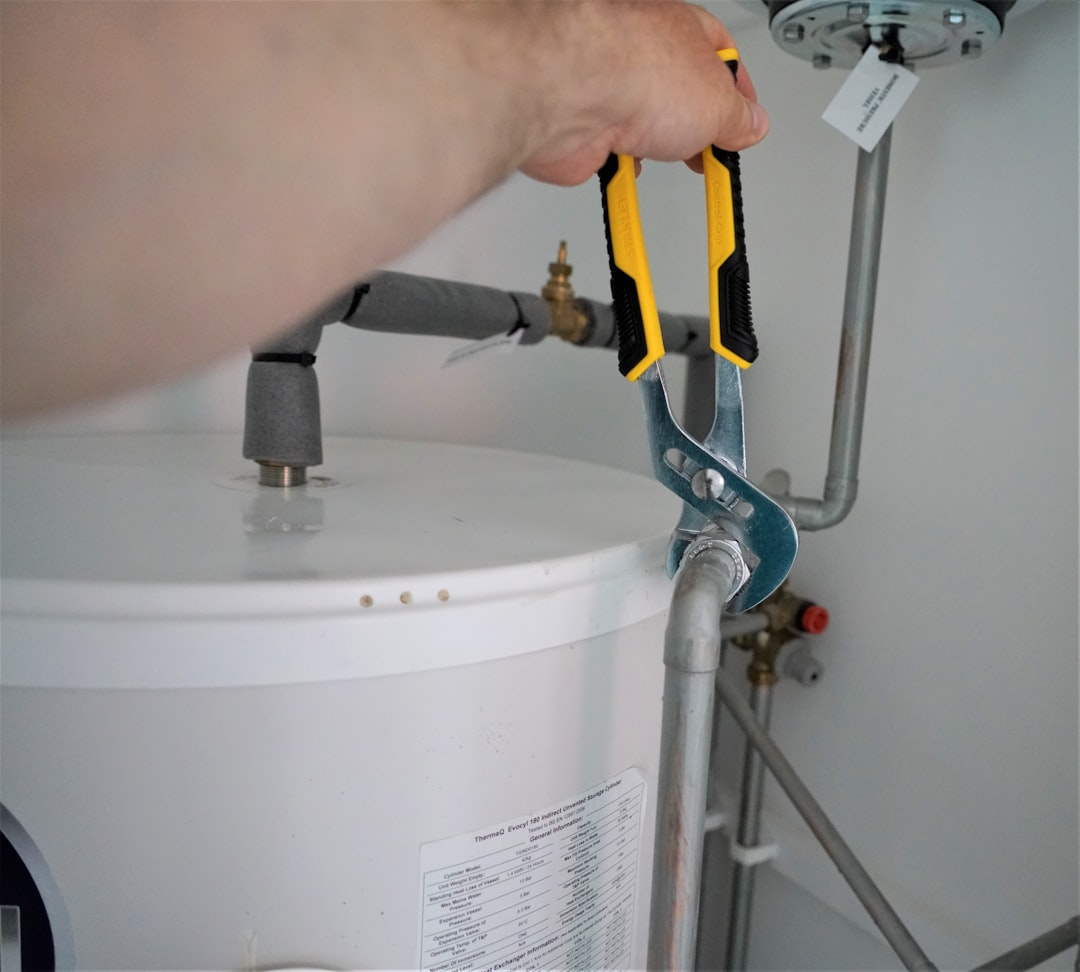
What to Do When Your Electric Water Heater Pressure Relief Valve Is Leaking
An electric water heater pressure relief valve leaking is one of the most common — and most misunderstood — water heater problems homeowners face. Before you read further, here’s a quick answer:
Quick Fix Summary:
- Turn off power at the breaker panel immediately
- Check your temperature setting — lower it to 120°F if it’s higher
- Inspect the valve for corrosion, mineral buildup, or visible damage
- Lift the test lever briefly to flush debris and help the valve reseat
- If leaking continues, replace the valve ($15–$35 DIY) or call a licensed plumber ($150–$350)
- Never cap or plug the valve — this is a serious safety hazard
That small drip near your water heater might seem like a minor annoyance. But that little valve — officially called the Temperature and Pressure (T&P) relief valve — is the last line of defense between your water heater and a potentially catastrophic tank failure.
It’s doing an important job. And when it leaks, your system is telling you something.
The leak could mean high water pressure, thermal expansion, a failing thermostat, sediment buildup, or simply a worn-out valve. Some causes are simple fixes. Others need immediate attention.
This guide walks you through exactly how to diagnose and fix the problem — safely.
I’m Hugh Hodur, President of VanDerBosch Plumbing Inc., and I’ve seen how often a leaking electric water heater pressure relief valve goes ignored until it becomes a much bigger — and more expensive — problem. With years of water heater repair and installation experience serving Chicagoland homeowners and businesses, I’ll walk you through everything you need to know to handle this the right way.
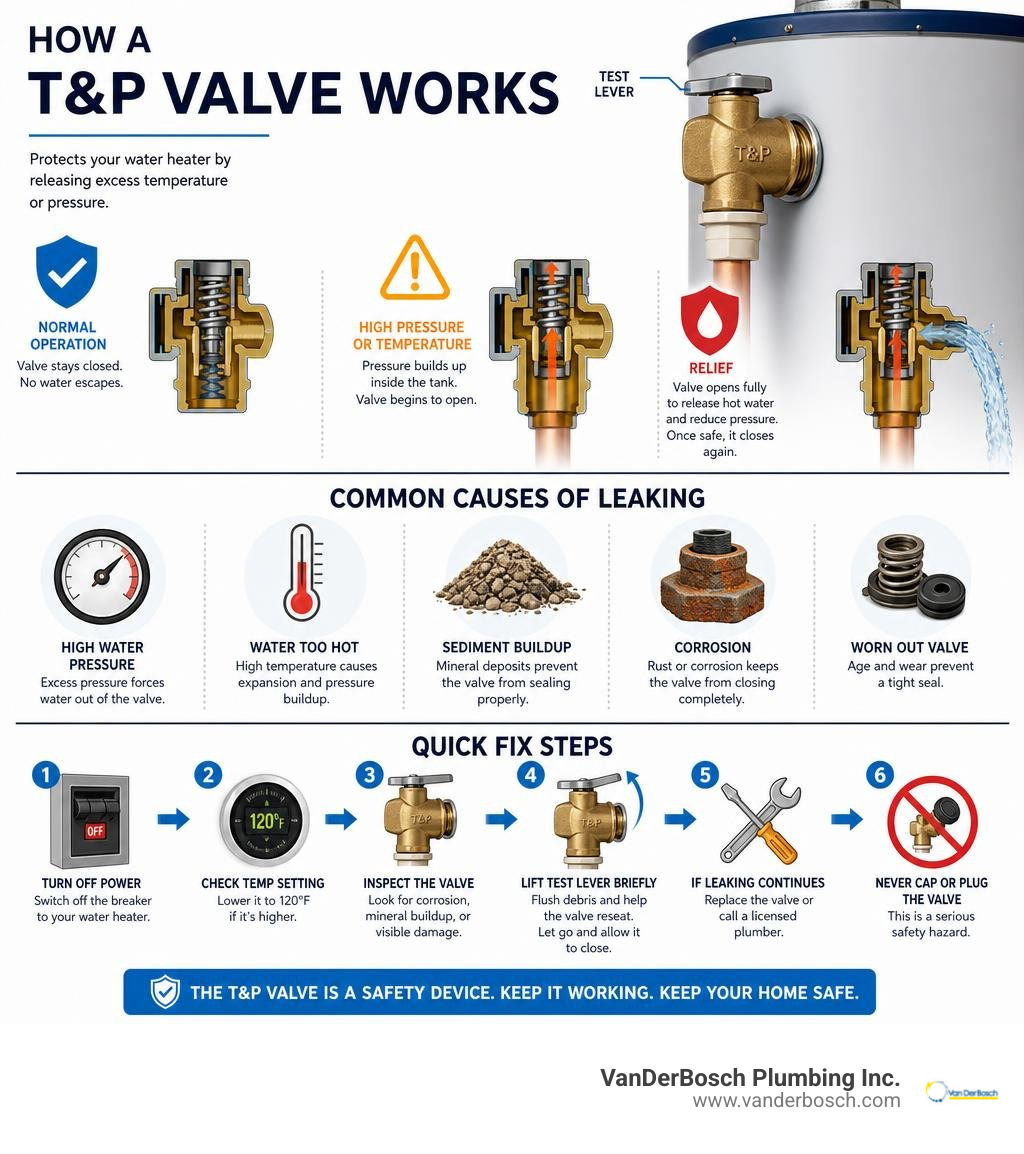
Electric water heater pressure relief valve leaking:
What is a T&P Valve and Why is it Critical?
To understand why your valve is leaking, you first need to understand what it is and why it exists. The Temperature and Pressure (T&P) relief valve is a mechanical safety device installed on the top or upper side of every residential water heater.
Think of it as a mechanical security guard. Under normal operating conditions, the valve remains tightly shut. However, if the internal environment of the water heater becomes dangerous, this valve is designed to open automatically. Specifically, the T&P valve is engineered to open and discharge water when:
- The internal tank pressure reaches 150 PSI (pounds per square inch).
- The water temperature inside the tank reaches 210°F.
If either of these thresholds is crossed, the valve opens, allowing hot water and steam to escape through a dedicated discharge pipe. Without this crucial escape hatch, an overheated or over-pressurized tank could rupture or, in extreme cases, experience a catastrophic explosion capable of launching the water heater through multiple floors of a home.
For complete technical specifications on how these systems are engineered, you can review the manufacturer guidelines in the Installation Instructions and Use & Care Guide.
How the Valve Protects Your Electric Water Heater
While gas water heaters use a flame to heat water from the bottom, electric water heaters rely on electrical heating elements positioned directly inside the tank. These elements are controlled by thermostats clamped against the outer tank wall.
If a thermostat fails on an electric water heater, it can get stuck in the “on” position. When this happens, the heating elements will run continuously, heating the water far past the safe maximum limit. As the water temperature rises toward a boil, it expands rapidly and creates steam, causing a severe spike in internal pressure.
In modern energy-efficient systems, such as a Hybrid Electric heat pump water heater, complex electronic controls work alongside traditional safety backups. But regardless of whether you have a standard electric tank or a high-tech hybrid unit, the physical T&P valve remains the final line of defense against thermostat malfunctions and runaway heating elements.
Why is Your Electric Water Heater Pressure Relief Valve Leaking?
If you notice a puddle forming beneath your discharge pipe, it means your T&P valve is doing one of two things: it is either actively venting excess temperature/pressure to protect your home, or it has failed mechanically.
An electric water heater pressure relief valve leaking is usually caused by one of four primary factors:
- Thermal Expansion: Water expands as it heats up, increasing system pressure.
- Excessive Home Water Pressure: High municipal water pressure can force the valve open.
- Sediment and Mineral Buildup: Calcium and scale can lodge in the valve seat, preventing it from closing tightly.
- A Worn-Out or Damaged Valve: Over time, the internal spring and rubber gasket inside the valve degrade.
To narrow down the exact cause of your leak, it helps to understand where the water is coming from. For a broader look at diagnosing leaks across your entire appliance, check out our guide on Why Is My Water Heater Leaking?.
Thermal Expansion vs. Temperature Spikes
In the past, municipal water systems were “open,” meaning that as water heated up and expanded inside a home’s water heater, the excess volume could push backward into the city water main. Today, however, plumbing codes require “closed” systems in most areas. Closed systems utilize backflow preventers, check valves, or pressure-reducing valves at the main water meter to prevent water from flowing backward into the public supply.
While closed systems protect the public water supply, they create a challenge for your home. When your electric water heater turns on, the water expands, but it has nowhere to go. This phenomenon is known as thermal expansion.
Without a properly functioning thermal expansion tank installed on your cold water line, this expansion can cause rapid pressure spikes that routinely exceed 150 PSI, causing the T&P valve to weep or drip.
This issue is a frequent topic among DIYers troubleshooting system pressure, as discussed in this 2 year old water heater pressure relief valve randomly releasing | DIY Home Improvement Forum.
On the other hand, if your thermostat has failed, you will experience temperature spikes. If the water discharging from your valve is steaming hot (well over 140°F) and releasing in large, violent volumes rather than a slow drip, you are likely dealing with a malfunctioning thermostat that is dangerously overheating the water.
Is Occasional Dripping Normal?
A brief, occasional discharge from your T&P valve can occur during periods of heavy hot water usage when the tank is rapidly heating a large volume of cold water. However, continuous dripping, weeping, or pooling is never normal.
If your valve drips constantly, it indicates that either your system is under chronic, unsafe pressure, or the valve itself has lost its ability to seal. Ignoring a steady drip can lead to scale buildup on the valve, rendering it useless when a real emergency occurs.
To help determine if your system needs immediate attention or a complete overhaul, read our diagnostic breakdown of Signs Your Water Heater May Need Repair or Replacement.
How to Safely Inspect and Diagnose the Leak
Before you touch your water heater or attempt any diagnostic tests, you must prioritize safety. Electric water heaters run on high-voltage electricity (typically 240 volts). Water and electricity are a dangerous combination, so always turn off the power at your home’s main circuit breaker panel before conducting an inspection.
Once the power is safely disconnected, you can begin your diagnosis. To determine if the leak is caused by high water pressure or a faulty valve, you will need a basic water pressure gauge.

Performing a Fast Flush Test
If your T&P valve is dripping slowly, a small piece of sediment or mineral scale might be trapped between the valve’s rubber gasket and its seat. You can often clear this debris by performing a fast flush test.
To perform a flush test:
- Place a bucket under the end of the discharge pipe (or ensure the pipe drains safely into a floor drain).
- Carefully lift the manual test lever on the T&P valve. Warning: The water exiting the pipe will be extremely hot. Keep your hands, face, and body clear of the discharge pipe.
- Let the water flow out of the pipe for 2 to 3 seconds, then release the lever.
- The lever should snap back into place, stopping the flow of water.
If the valve continues to drip or run after the flush, try operating the lever a few more times to clear any stubborn debris. If it still leaks after multiple attempts, the valve’s internal seal is damaged, and the valve must be replaced. For a detailed walkthrough of this testing process, you can consult How to Fix a Leaking Electric Water Heater Pressure Relief Valve? – Plumbing Guider.
Testing for an Electric Water Heater Pressure Relief Valve Leaking Due to High Pressure
If your valve is physically sound but continues to weep, you need to check your home’s static water pressure.
- Screw a water pressure gauge onto an outdoor hose spigot or the cold water drain valve of your washing machine utility sink.
- Open the faucet fully and read the gauge.
- A normal, safe residential water pressure reading is between 40 and 60 PSI. If your pressure reads above 80 PSI, your home’s main Pressure Reducing Valve (PRV) has likely failed or needs adjustment.
Next, inspect your thermal expansion tank if you have one. Locate the small Schrader valve (which looks like a bicycle tire valve) on the bottom or end of the expansion tank. Press the small needle inside the valve briefly:
- If air escapes, the tank’s bladder is likely intact, though the air pressure may need to be adjusted to match your home’s static water pressure.
- If water squirts out, the internal bladder has ruptured, and the entire expansion tank must be replaced.
For more troubleshooting tips on managing system pressure, explore our guide on How to Fix Water Heater: 5 Guaranteed Methods.
Step-by-Step Guide to Replacing a Faulty T&P Valve
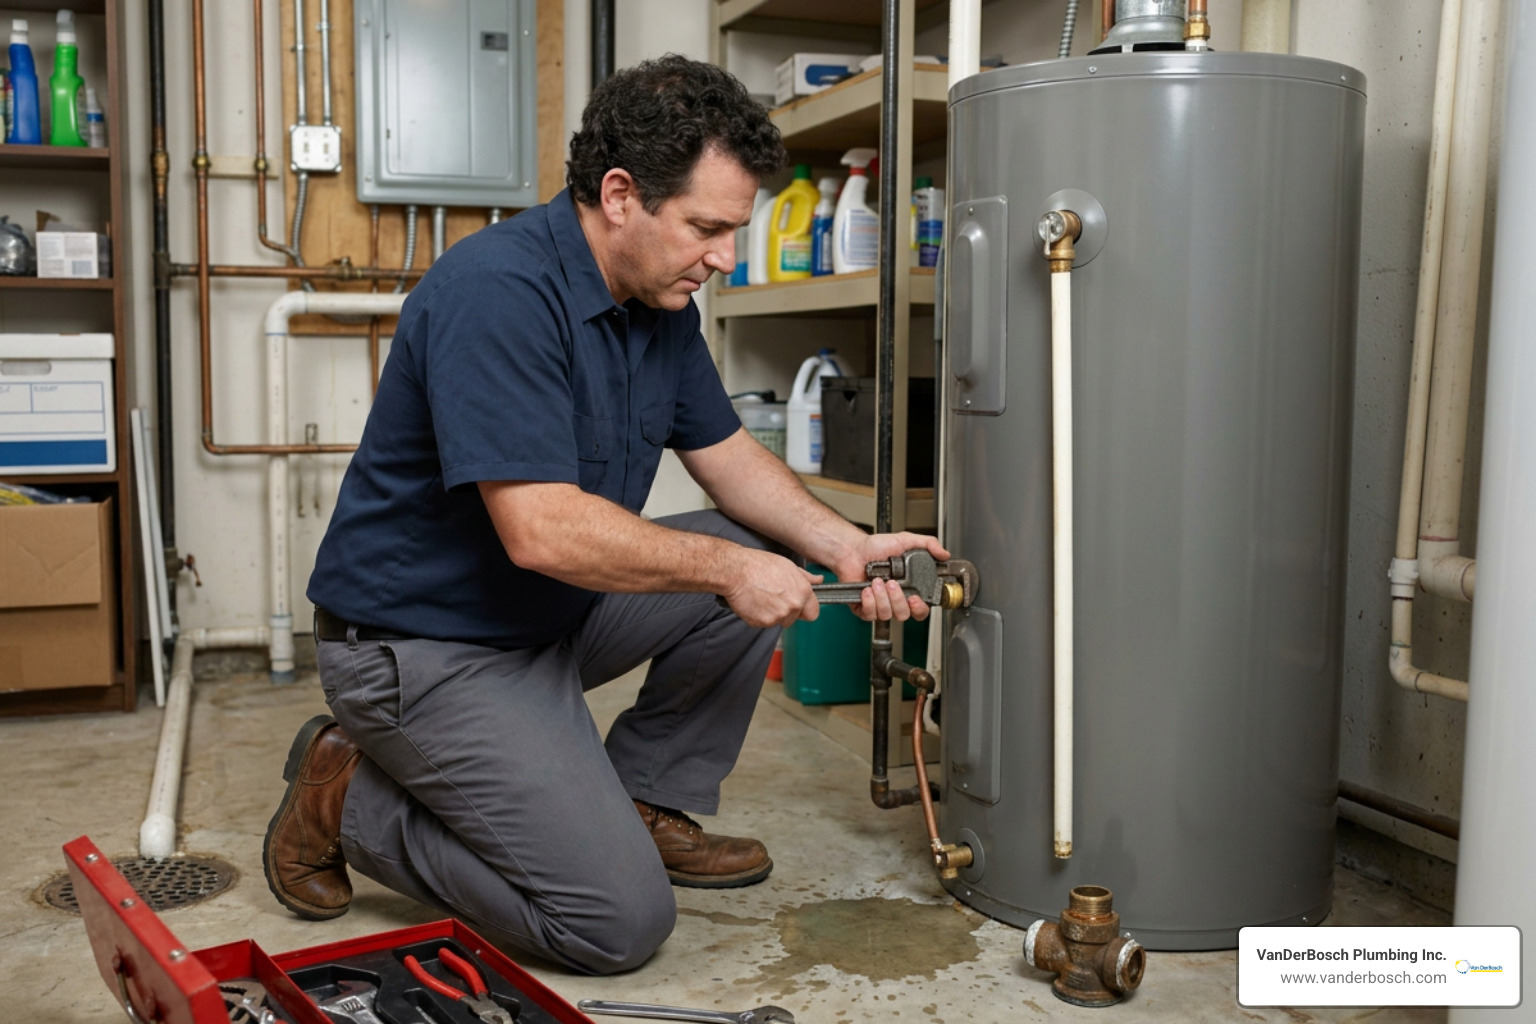
If your diagnostic tests reveal that the T&P valve is worn out, replacing it is a straightforward plumbing task. If you are comfortable working with basic hand tools and pipe threads, you can complete this repair yourself.
Tools and Materials Needed:
- A replacement T&P valve (ensure the shank length and thread size match your old valve, typically 3/4-inch NPT)
- Pipe wrench or large adjustable wrench
- Teflon tape (PTFE tape) or high-quality pipe thread sealant
- Garden hose (for draining the tank)
- Bucket
DIY vs. Professional Replacement Costs
| Factor | DIY Replacement | Professional Replacement (VanDerBosch) |
|---|---|---|
| Parts Cost | $15 – $35 | Included in service |
| Labor Cost | Free | $150 – $350 (varies by system complexity) |
| Time Required | 1 – 2 hours | 30 – 45 minutes |
| Warranty | Manufacturer parts only | 100% satisfaction guarantee on parts & labor |
| Safety Risk | Moderate (scalding/electrical risks) | None (licensed, background-checked pros) |
Step 1: Shut Off Power and Water
- Cut the Power: Locate your main electrical panel and switch off the double-pole circuit breaker dedicated to your electric water heater.
- Verify Power is Off: Use a non-contact voltage tester at the water heater’s upper thermostat cover to confirm there is no electrical current.
- Shut Off Water: Locate the cold water shutoff valve above the water heater and turn it clockwise to close it.
Step 2: Drain the Tank and Remove the Old Valve
- Connect a Hose: Attach a standard garden hose to the drain valve located at the bottom of the water heater tank. Run the other end of the hose to a floor drain or patio.
- Relieve Pressure: Open a hot water faucet somewhere in your house to let air into the system.
- Drain the Tank Partially: Open the drain valve at the bottom of the tank. You do not need to drain the entire tank — only drain enough water so the level falls below the T&P valve port (usually 5 to 10 gallons is sufficient).
- Disconnect the Discharge Pipe: Use your wrench to unscrew the vertical discharge pipe attached to the outlet of the leaking T&P valve. Set the pipe aside.
- Remove the T&P Valve: Fit your pipe wrench onto the brass body of the T&P valve and turn it counterclockwise to unscrew it from the tank.
Step 3: Install the New Valve and Test
- Prepare the Threads: Clean the threads inside the tank port with a dry cloth. Wrap the threads of your new T&P valve with 5 to 6 wraps of Teflon tape in a clockwise direction.
- Install the New Valve: Thread the new valve into the tank by hand, turning it clockwise. Use your wrench to tighten it until the discharge outlet points straight down. Do not overtighten, as you could crack the welded tank connection.
- Reattach the Discharge Pipe: Apply Teflon tape to the threads of the discharge pipe and screw it back into the outlet of the new valve.
- Refill the Tank: Open the cold water inlet valve to fill the tank. Keep a hot water faucet open in your home until water flows steadily without sputtering air. Crucial: Never turn the power back on until the tank is completely full of water, or you will instantly burn out the heating elements.
- Restore Power: Switch the circuit breaker back on and check the new valve for any signs of weeping or leaking.
The Dangers of Ignoring or Capping a Leaking Valve
When a T&P valve begins to drip, some homeowners are tempted to ignore it, placing a bucket underneath to catch the water. Others make the dangerous decision to screw a brass cap or plug onto the end of the discharge pipe to stop the leak.
Ignoring a leaking valve can lead to extensive structural water damage, mold growth, and premature tank corrosion. In the worst-case scenario, it can lead to a complete system failure. To understand when a system is beyond repair, read our guide on When Should Homeowners Break Up with Their Water Heaters?.
Why You Must Never Cap an Electric Water Heater Pressure Relief Valve Leaking Water
Capping or plugging a leaking T&P valve turns your water heater into a potential bomb. If the valve is leaking because of a faulty thermostat that is continuously heating the water, capping the valve removes the only safety mechanism keeping the tank from over-pressurizing.
If the internal pressure continues to climb without an escape route, the steel tank will eventually rupture. The superheated water inside will instantly flash into steam, expanding to over 1,600 times its liquid volume. The resulting explosion can easily destroy walls, collapse floors, and cause severe injuries.
To learn more about repair costs and the safety risks associated with water heater systems, check out our breakdown of Plumber Water Heater Repair: Costs DIY and Gas Units.
Frequently Asked Questions About Leaking T&P Valves
How long does a water heater pressure relief valve last?
On average, a residential T&P relief valve has a lifespan of 3 to 5 years. Its longevity depends heavily on local water quality and how well the water heater is maintained. In areas with hard water, mineral scale can accumulate inside the valve mechanism much faster, causing premature failure. Regular testing and annual tank flushes can help extend the life of your valve.
Do I need to replace my entire water heater if the valve is leaking?
No, a leaking T&P valve does not automatically mean you need a new water heater. In most cases, the valve itself is simply worn out or your system is experiencing high water pressure. Replacing a faulty valve is an inexpensive and quick repair. However, if your water heater is over 10 years old and showing signs of heavy tank corrosion or rusty water, a replacement may be the most cost-effective path forward. For a detailed look at replacement budgets, read How Much Does a New Water Heater Actually Cost?.
How can I prevent future relief valve leaks?
You can prevent future leaks by following a simple annual maintenance routine:
- Flush the Tank Annually: Drain your water heater once a year to remove accumulated sediment that can clog the T&P valve.
- Monitor Your Water Pressure: Keep an eye on your home’s water pressure and ensure it stays below 60 PSI.
- Maintain Your Expansion Tank: Check the air pressure in your thermal expansion tank every year to ensure it is absorbing pressure spikes.
- Set Your Thermostat to 120°F: Keeping your water temperature at 120°F reduces the risk of overheating and thermal expansion.
For help choosing the best configuration for your home’s plumbing system, read our guide on Choosing the Right Type of Water Heater for Installation.
Conclusion
A leaking electric water heater pressure relief valve is a warning sign that shouldn’t be ignored. Whether it’s a simple fix like clearing sediment or a more involved task like replacing a faulty valve or installing an expansion tank, addressing the issue early protects your home from water damage and keeps your family safe.
If you live in Chicagoland — including Cook County, Chicago, Roselle, Niles, Winnetka, Ukrainian Village, Elmhurst, or Mount Prospect — and would prefer to have a professional handle the job, we are here to help. At VanDerBosch Plumbing Inc., we offer licensed residential plumbing services with a 100% satisfaction guarantee, 24/7 availability, and transparent pricing with no hidden service charges.
Don’t let a small drip turn into a flooded basement. Schedule Water Heater Services with VanDerBosch Plumbing Inc. today, and let our experienced, background-checked technicians restore your peace of mind.