
Why Gas Heater Maintenance Could Save You Money — and Your Life
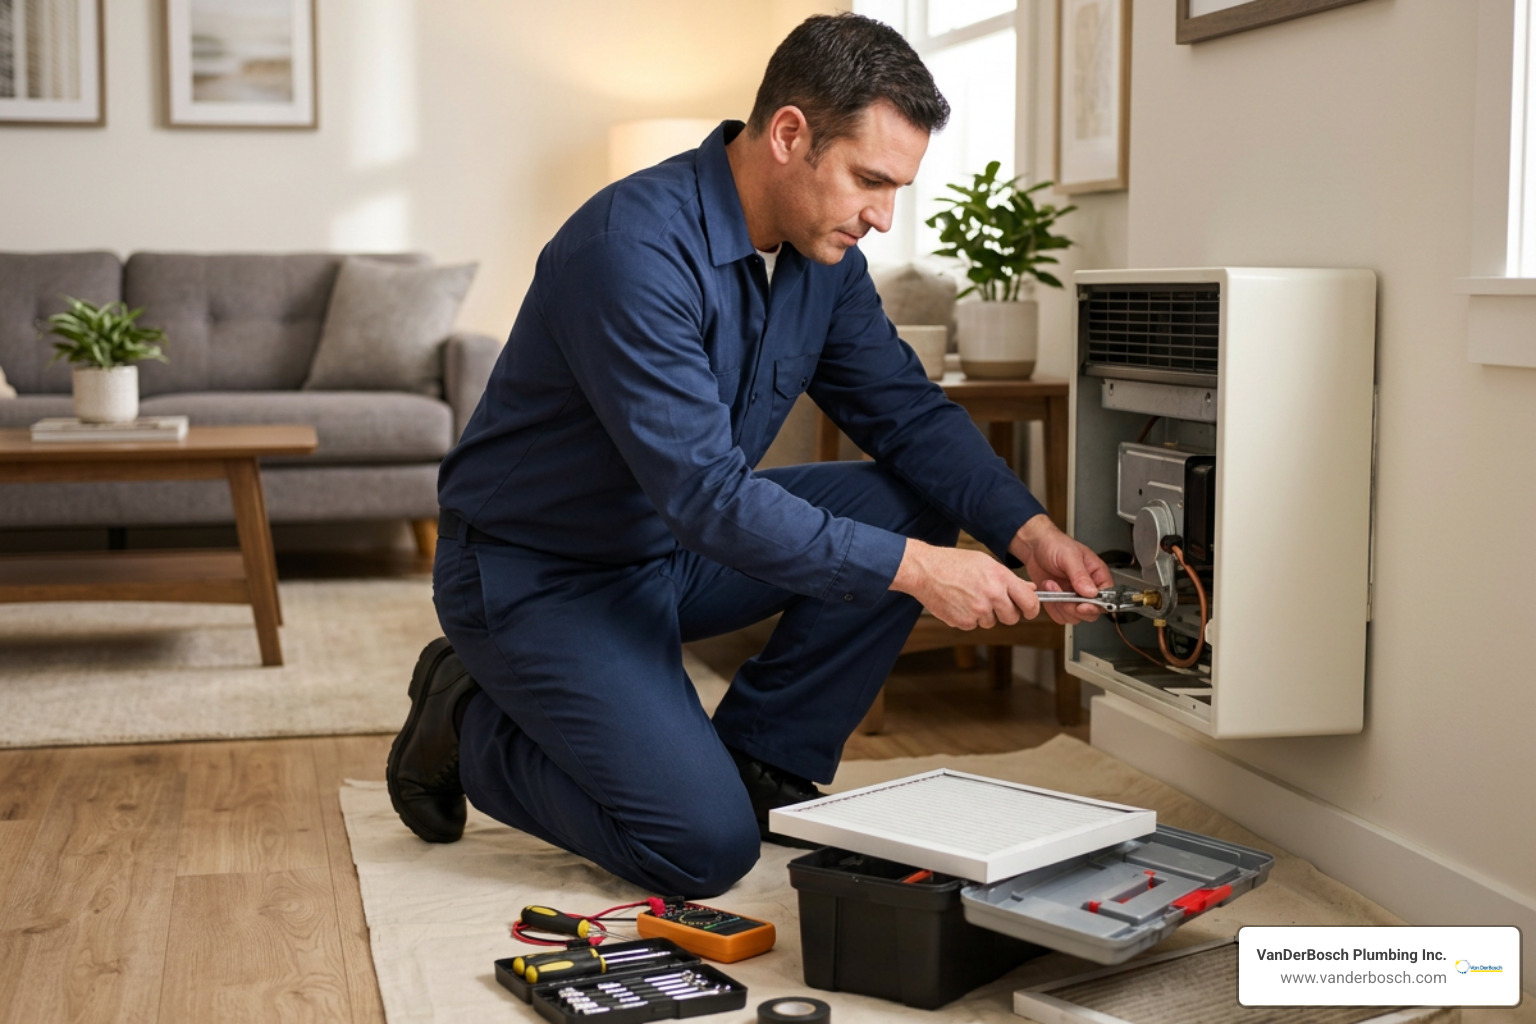
Gas heater maintenance is one of the most important things you can do to keep your home safe, warm, and energy-efficient — especially during a brutal Chicagoland winter.
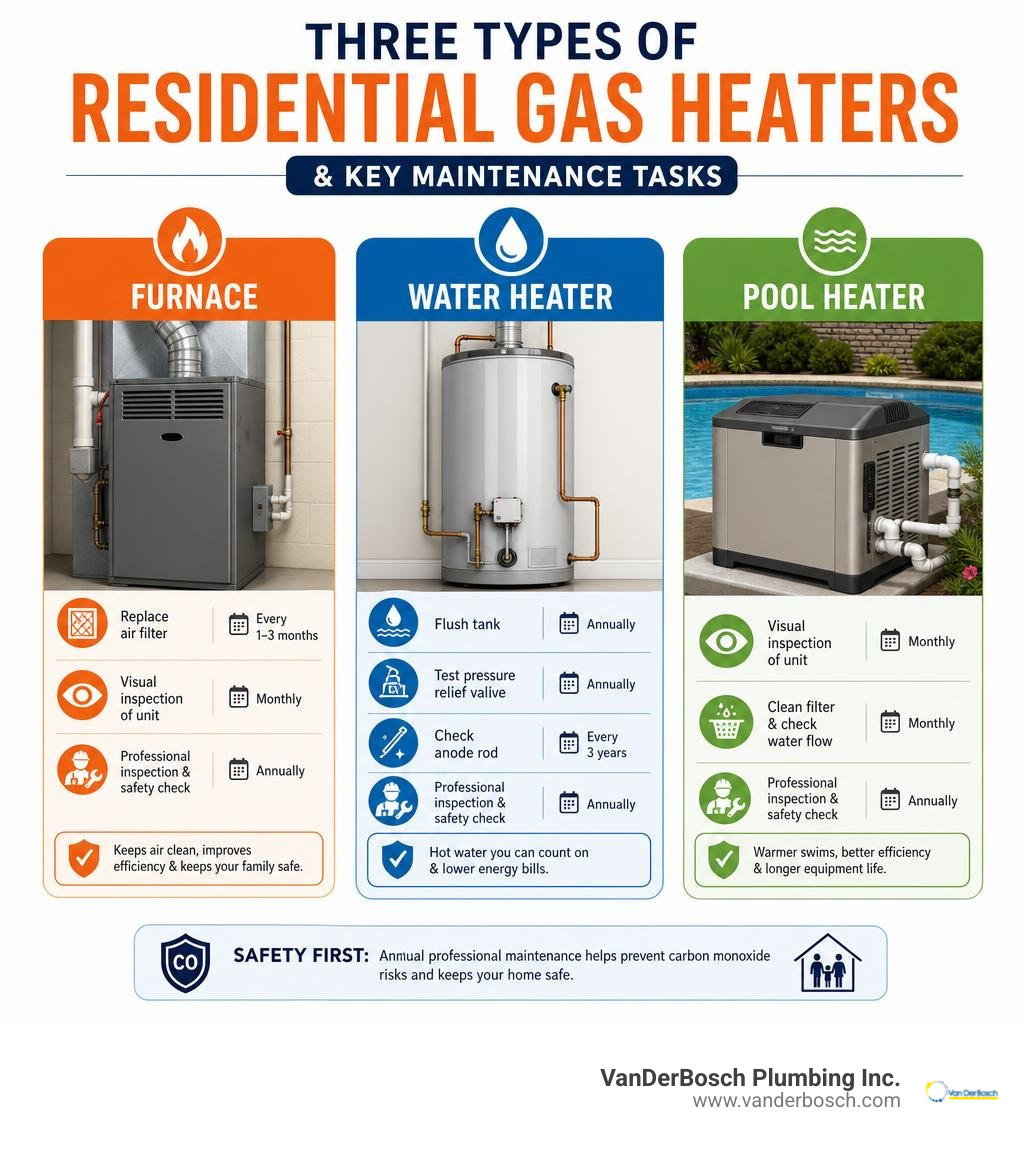
Here’s a quick summary of what proper gas heater maintenance involves:
| Task | Who Does It | How Often |
|---|---|---|
| Replace air filter | Homeowner | Every 1-3 months |
| Visual inspection of unit | Homeowner | Monthly |
| Flush water heater tank | Homeowner | Annually |
| Test pressure relief valve | Homeowner | Annually |
| Check anode rod | Homeowner | Every 3 years |
| Burner and heat exchanger inspection | Professional | Annually |
| Combustion gas analysis | Professional | Annually |
| Gas pressure verification | Professional | Annually |
| Carbon monoxide safety check | Professional | Annually |
Water heaters alone account for roughly 17% of your total household energy bill. Add your furnace and pool heater to the picture, and neglected maintenance can quietly drain hundreds of dollars a year — before anything even breaks.
And when things do break, the costs jump fast. A heat exchanger replacement runs $800 to $2,500. Annual professional service? $200 to $650. The math isn’t complicated.
There’s a safety side to this too. A gas heater that runs with a cracked heat exchanger or a dirty burner can produce carbon monoxide with no visible warning signs at all. That’s not a risk worth taking.
I’m Hugh Hodur, President of VanDerBosch Plumbing Inc., and I’ve overseen gas heater maintenance, water heater repair, and residential heating services across the Chicagoland area for years. In this guide, I’ll walk you through everything you need to know to maintain every type of gas heater in your home safely and effectively.
Gas heater maintenance word roundup:
The Ultimate Guide to Gas Heater Maintenance: DIY vs. Professional Care
When it comes to keeping your heating systems in peak condition, understanding the boundary between what you can do yourself and what requires a licensed professional is critical. While taking a hands-on approach to home care is admirable, natural gas is an incredibly powerful and volatile fuel. A single mistake can lead to gas leaks, fires, or silent carbon monoxide poisoning.
Our team always emphasizes a “safety first” mindset. Homeowners should focus on non-invasive, preventative maintenance that keeps the system clean and clear of obstructions. Any task that involves opening a gas line, adjusting fuel-to-air combustion ratios, testing high-voltage electrical components, or inspecting the interior of a sealed heat exchanger must be left to a licensed professional.
Furthermore, attempting major DIY repairs on gas valves or combustion chambers will almost certainly void your manufacturer’s warranty. Most major brands explicitly state that their warranties are only valid if the system receives documented, annual professional servicing. Keeping your household safe and your warranty intact means knowing when to roll up your sleeves and when to call in the experts. For more on keeping your home secure, read our guide on How to Keep a Household Safe From Gas Leaks.
Safe DIY Gas Heater Maintenance Tasks for Homeowners
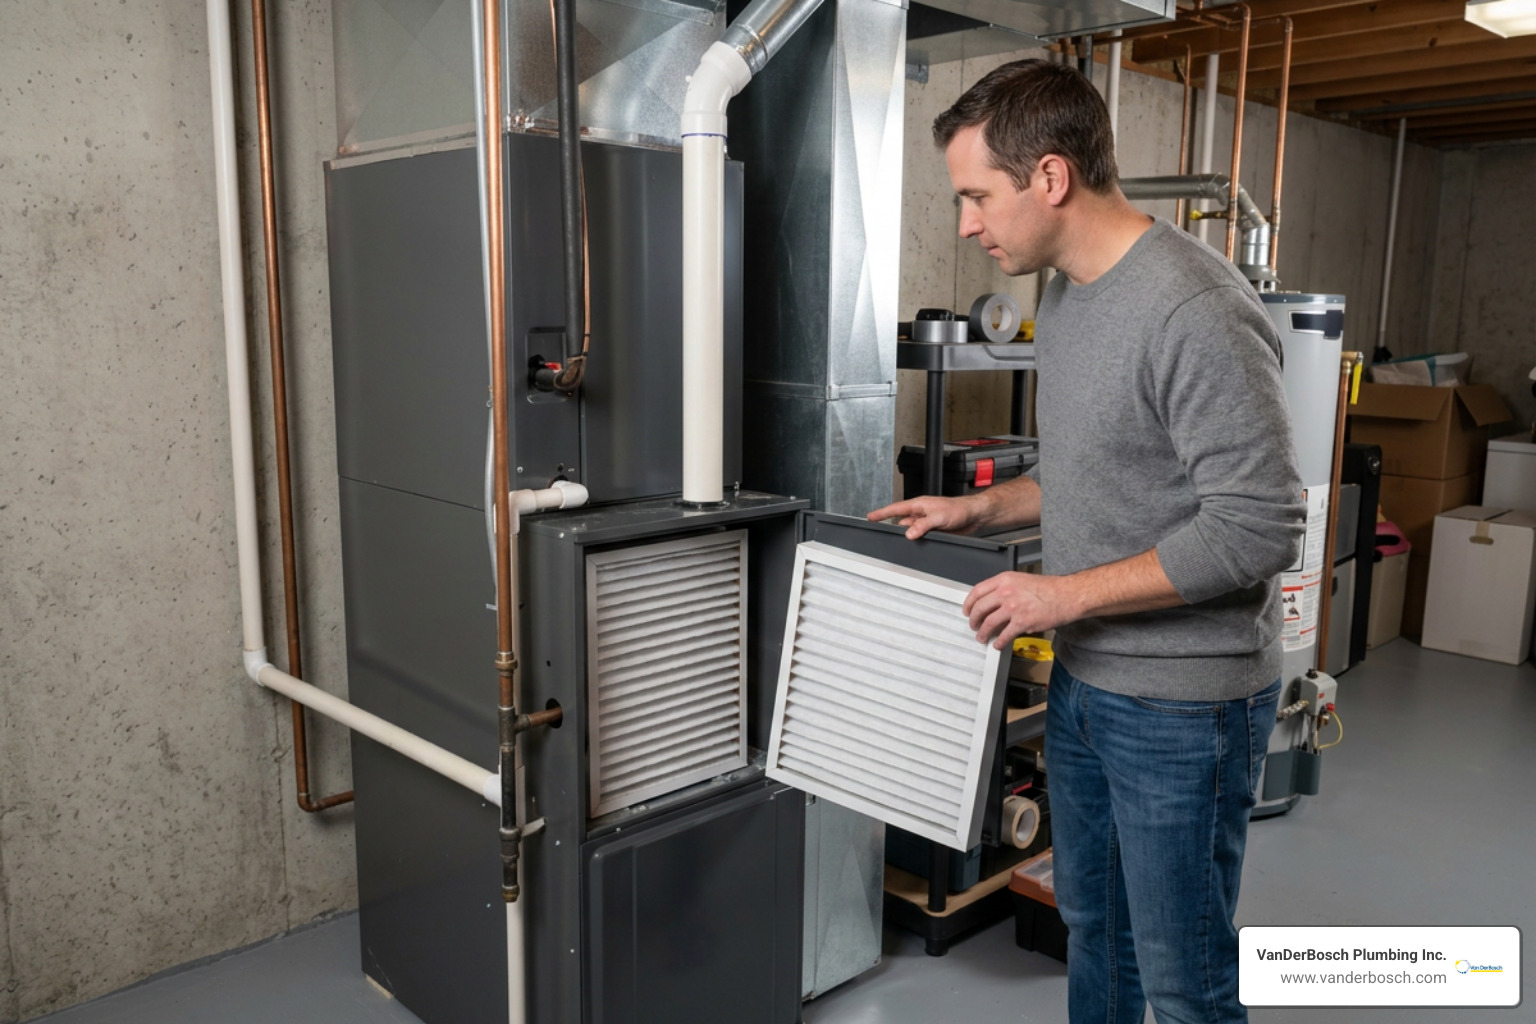
As a homeowner, your primary role in gas heater maintenance is focused on cleanliness, airflow, and monitoring. Here are the tasks you can safely perform yourself:
- Air Filter Replacement: This is the single most important DIY task. A dirty air filter restricts airflow, forcing your heater to work significantly harder, which drives up utility bills and cuts years off the system’s lifespan. Check your filter monthly and replace it every 1 to 3 months.
- Perimeter Clearing: Keep the area around your heating units completely clear. Maintain at least a 36-inch clearance between your furnace or water heater and any flammable objects, storage boxes, or cleaning chemicals. Regularly dust and vacuum the floor around the unit to prevent debris from being pulled into the burner assembly.
- Visual Inspections: Once a month, take a close look at your heating units. Check for soot accumulation around the burner door, visible rust on the flue pipe, or water pooling at the base. Observe the burner flame if your unit has a viewing window—it should be a crisp, stable blue, not a flickering yellow or orange.
- Thermostat Checks: Test your thermostat’s accuracy by comparing its reading to a standalone digital thermometer placed nearby. You can also test system responsiveness by raising the setting 5 degrees to ensure the unit fires up promptly.
If during any of these visual checks you suspect something is amiss, it is vital to know How to Detect Gas Leaks the Right Way to prevent a minor issue from turning into a major emergency.
Why Professional Gas Heater Maintenance is Essential
While DIY tasks keep the air flowing, they only scratch the surface. A professional annual service is a highly technical diagnostic process designed to catch invisible hazards and optimize mechanical efficiency.
During a professional visit, a technician uses specialized equipment to perform a combustion gas analysis. This test measures the exact ratio of fuel to oxygen and monitors the flue gases for elevated levels of carbon monoxide. Technicians also perform a physical heat exchanger integrity test. Because a cracked heat exchanger allows deadly combustion gases to mix directly with your indoor breathing air, and because these microscopic cracks are often impossible to see with the naked eye, specialized pressure and camera testing are required.
Additionally, professionals will verify and calibrate gas manifold pressure using a digital manometer (ensuring it sits precisely at the manufacturer’s specification, such as 3.5 inches water column for natural gas). They will test electrical components—like checking the resistance of your Hot Surface Igniter (HSI) with a multimeter—and clean sensitive safety controls like the flame sensor.
Investing in this annual service is the difference between a heater that runs safely for 15 years and one that suffers a catastrophic, premature failure at 7. If you want to ensure your home is completely protected against silent hazards, look into our professional Gas Leak Detection services.
Step-by-Step Maintenance for Furnaces, Water Heaters, and Pool Heaters
Every gas appliance in your home has its own unique engineering, which means maintenance procedures differ significantly between furnaces, water heaters, and pool heaters. Let’s break down the step-by-step procedures required to keep each of these systems running flawlessly.
How to Safely Clean and Maintain a Gas Furnace
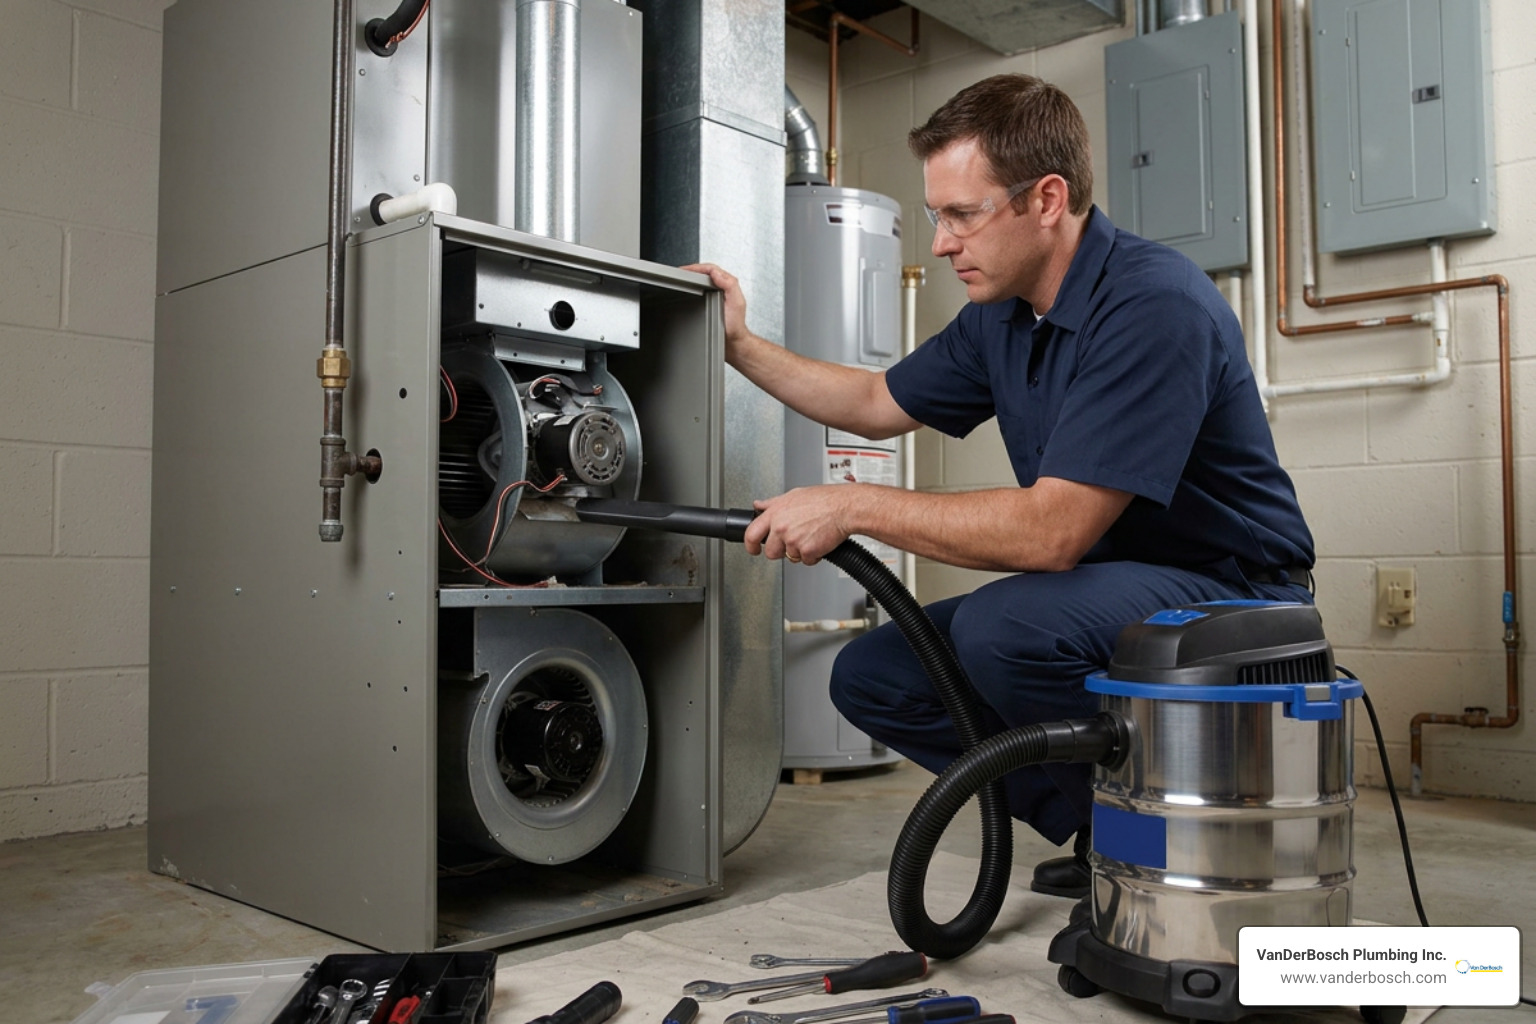
Over time, dust and dirt accumulate inside your furnace cabinet, insulating components that need to release heat and clogging the burners. This reduces combustion efficiency and places immense strain on the blower motor.
To clean your gas furnace safely, follow this step-by-step procedure:
- Shut Down the System: Always turn off the electrical power to the furnace at your main circuit breaker panel. Next, locate the gas shutoff valve on the incoming gas line and turn it to the “off” position (perpendicular to the pipe).
- Gear Up: Put on safety glasses, gloves, and a dust mask to protect yourself from airborne debris.
- Wipe Down the Exterior: Use a damp microfiber cloth to clean dust and grime off the outside of the furnace cabinet.
- Vacuum the Burner Compartment: Remove the burner access panel. Using a vacuum cleaner equipped with a soft brush or crevice attachment, gently vacuum away dust and loose soot from the burners and the base of the furnace cabinet. Never use a wire brush on delicate burner components.
- Inspect the Heat Exchanger: Shine a bright flashlight into the combustion chamber. Look closely for any signs of heavy soot buildup, white powdery corrosion, or visible cracks. If you spot any of these, stop immediately and call for professional heating repair.
- Clean the Blower Motor Assembly: Open the blower compartment. Use your vacuum and a soft brush to gently clear dust from the blower fan blades. Be extremely careful not to disturb the wiring or knock off the small metal counterweights clipped to the blades, as this will unbalance the fan and ruin the motor.
- Clean the Ductwork Registers: Remove your floor and wall vent covers. Vacuum inside the duct openings, starting from the furthest vent and working your way back toward the furnace to avoid pushing loose dirt deeper into the system.
- Reassemble and Test: Replace all access panels securely. Turn the gas valve back on, restore electrical power, and raise your thermostat to test fire the unit. Watch the ignition sequence to ensure the burners light smoothly and burn with a steady blue flame.
How to Flush Sediment and Test Valves on a Gas Water Heater
Your water heater is a silent workhorse, but it faces a constant internal enemy: mineral scale. As water is heated, dissolved minerals like calcium and magnesium precipitate out of the water and settle to the bottom of the tank.
Chicagoland water, sourced primarily from Lake Michigan, carries about 130 to 150 parts per million (ppm) of hardness. Without regular maintenance, this sediment forms a thick, hardened insulating barrier directly between the gas burner and the water. This forces the burner to run longer and hotter, wasting energy and eventually overheating the tank steel until it cracks.
| Maintenance Task | Frequency | Purpose | Key Safety Step |
|---|---|---|---|
| Flush Tank | Annually | Removes mineral sediment to restore efficiency and prevent tank cracking. | Allow water to cool for 2-3 hours first. |
| Test T&P Valve | Annually | Ensures the safety valve will open to release dangerous pressure spikes. | Keep clear of the discharge pipe to avoid scalding. |
| Check Anode Rod | Every 3 Years | Sacrificial rod attracts corrosive elements to protect the steel tank. | Shut off gas and water before unscrewing. |
To safely flush your water heater and test its safety valves, follow this procedure:
- Turn Off Gas and Water: Turn the gas control dial on the front of the water heater to the “off” or “pilot” position. Shut off the cold water inlet valve at the top of the tank.
- Allow the Water to Cool: This is a critical safety step. Let the water sit in the tank for 2 to 3 hours to cool down. Flushing a tank full of 120°F to 140°F water can cause severe, third-degree burns instantly if a hose slips or ruptures.
- Prevent a Vacuum: Open a few hot water faucets inside your home (such as a kitchen sink and an upstairs bathtub). This allows air into the system, preventing a vacuum from forming and letting the tank drain smoothly.
- Connect a Hose: Attach a standard garden hose to the brass or plastic drain valve located near the bottom of the water heater. Route the other end of the hose to a nearby floor drain, sump pump basin, or safely outside.
- Drain the Tank: Open the drain valve. Let the water drain completely. If the water flows slowly or stops, sediment may be clogging the valve; gently poke a stiff wire into the valve opening to clear the blockage.
- Flush with Fresh Water: Once the tank is empty, briefly turn the cold water inlet valve back on for 1 to 2 minutes. This blast of fresh water will stir up and flush out any remaining loose sediment at the bottom of the tank. Repeat this until the water running out of the hose is perfectly clear.
- Refill and Restart: Close the drain valve and remove the hose. Turn the cold water inlet valve back on and let the tank fill completely. Do not turn the gas back on until the tank is completely full of water, or you will dry-fire and permanently ruin the unit. Once water flows steadily from your indoor hot water faucets, close them, relight your pilot light, and set the thermostat to the Energy.gov recommended temperature of 120°F.
For a deeper dive into the costs associated with these systems, read our breakdown of Plumber Water Heater Repair Costs DIY and Gas Units. For specific technical instructions on standard residential systems, you can also consult the official A. O. Smith Service Handbook.
Protecting Your Gas Pool Heater with Water Chemistry and Seasonal Care
A gas pool heater operates in an incredibly hostile environment. It is simultaneously exposed to outdoor weather, intense combustion heat, and highly corrosive pool chemicals.
When it comes to extending the life of a pool heater, water chemistry is actually more critical than mechanical maintenance. If your pool water pH drops below 7.2, the water becomes highly acidic and will actively strip copper from your heater’s heat exchanger. This copper then deposits on your pool walls (causing green staining) and thin-pipes the heat exchanger until it leaks and ruins the heater. Conversely, if pH rises above 7.8, calcium scale will rapidly coat the inside of the heat exchanger tubes, reducing heating efficiency by up to 30% and causing the unit to overheat.
To protect your pool heater, adhere to these strict water chemistry parameters:
- pH: Maintain strictly between 7.4 and 7.6.
- Calcium Hardness: Keep between 200 and 400 ppm.
- Total Alkalinity: Keep between 80 and 120 ppm.
Beyond balancing chemistry, seasonal care is vital for pool heaters in our freezing Chicagoland climate. During your autumn pool closing, you must completely drain the heater. Water expands by 9% when it freezes, and a copper heat exchanger has zero flexibility; any water left inside will crack the manifold and destroy the unit. Turn off the gas supply and electrical power, remove the drain plugs at the bottom of the heater, and use compressed air to blow out any remaining water from the internal grid.
Finally, cover the vent openings with a fine mesh screen to prevent spiders and wasps from building nests in the burner orifices over winter, which is a leading cause of incomplete combustion and soot buildup during spring startup. For a complete seasonal checklist, review the comprehensive guide on Gas Pool Heater Maintenance: Annual | ProTuff Products.
Troubleshooting Common Gas Heater Problems and Emergency Protocols
Even with diligent maintenance, mechanical systems can occasionally experience issues. Knowing how to safely diagnose basic problems—and when to run for the door—is essential for every homeowner.
Diagnostic Steps for Ignition Failure and Short-Cycling
If your gas heating system is acting up, use this diagnostic matrix to identify potential causes before calling for service:
- Problem: Ignition Failure (Heater Won’t Light)
- Check the Pilot Light: If you have an older system with a standing pilot, check if it has gone out. If it won’t stay lit, the thermocouple (the metal safety probe next to the flame) is likely worn out or dirty. Clean it gently with a fine emery cloth or replace it.
- Check the Flame Sensor: On modern systems with electronic ignition, a dirty flame sensor is the most common culprit. The system will light for a few seconds and then shut off. Cleaning the thin metal rod with a light abrasive pad often solves the issue.
- Ignition Lockout: Most modern heaters will lock out after three failed ignition attempts. Try cycling the main power switch off for 60 seconds to reset the control board.
- Problem: Short-Cycling (Turning On and Off Rapidly)
- Dirty Air Filter: Restricting airflow causes heat to build up rapidly inside the furnace cabinet, tripping the high-limit safety switch and shutting the system down to prevent a fire. Replace the filter immediately.
- Thermostat Location: If your thermostat is located near a heat register, drafty window, or direct sunlight, it will receive false temperature readings and cycle the system rapidly.
- Problem: Insufficient Heat
- Ductwork Leaks: Air escaping through unsealed joints in your basement or attic ducts can prevent warm air from reaching your living spaces.
- Undersized Unit: If your water heater or furnace is undersized for your home’s square footage or hot water demand, it will run constantly without ever reaching the set temperature.
If your home utilizes a boiler system rather than a standard furnace, some of these diagnostic steps will differ. Learn more about boiler-specific troubleshooting on our Services Boiler page.
What to Do If You Smell Gas or Suspect a Leak
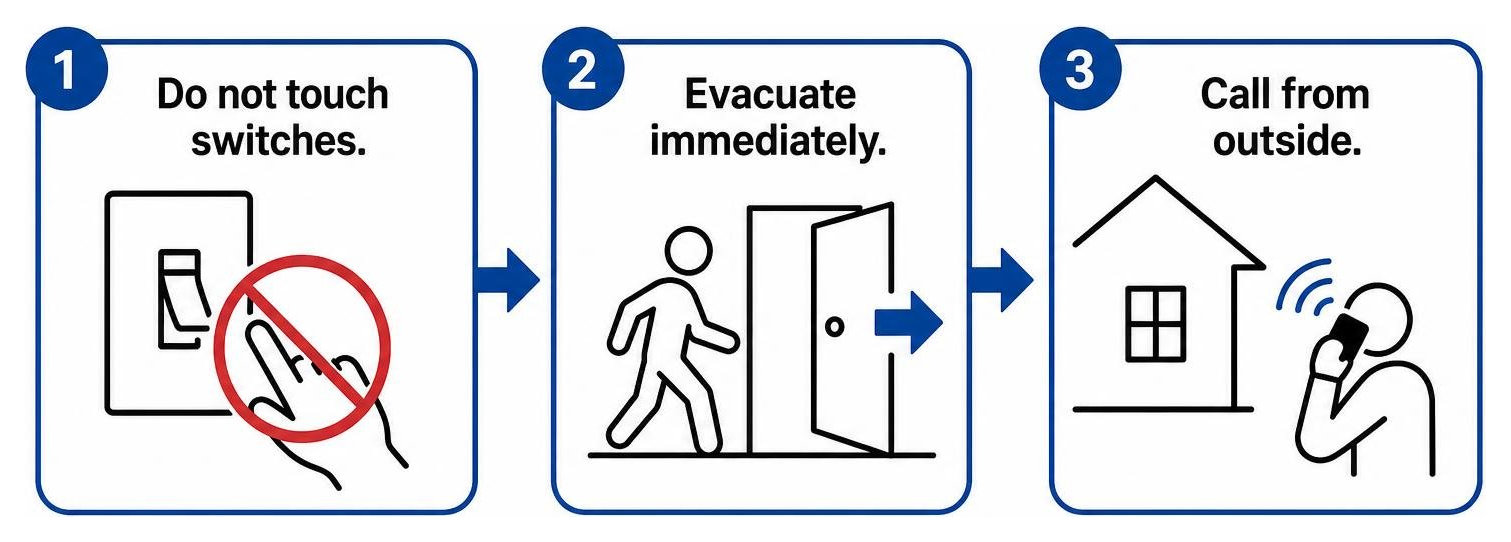
Natural gas is naturally odorless, but utility companies add a chemical called mercaptan to give it a distinct, highly noticeable “rotten egg” smell. If you ever smell gas, suspect a leak, or if your carbon monoxide detector sounds an alarm, you must act instantly.
Do not attempt to locate the leak yourself. Do not turn any light switches on or off, do not unplug any appliances, and do not use any phones or garage door openers inside the building. A single tiny electrical spark from a switch or phone can instantly ignite the gas in the air, causing a catastrophic explosion.
Evacuate every person and pet from the home immediately, leaving the front door wide open behind you to help vent the gas. Once you are safely down the street and away from the property, call 911 and your gas utility provider from your cell phone. Do not re-enter the home under any circumstances until emergency services or a licensed gas technician has declared the building safe. For professional gas line inspections, repairs, and safety verifications once the immediate danger has passed, contact our team for Gas Line Repair services.
Frequently Asked Questions about Home Heating Systems
How often should I replace my gas heater’s air filter and test the pressure relief valve?
You should inspect your gas furnace’s air filter once a month. If you have pets, allergies, or a busy household, you will likely need to replace it every 30 to 60 days. In quiet, two-person households, a high-quality pleated filter can last up to 90 days.
The Temperature and Pressure (T&P) relief valve on your gas water heater should be tested annually. To test it, gently lift the small metal lever on the valve to ensure water flows freely out of the discharge pipe, then release it. The valve should snap shut and stop the flow of water completely. If it continues to drip or leak after testing, it must be replaced immediately.
What are the consequences of neglecting annual heating system service?
Neglecting annual service is a costly mistake. First, you will experience a significant loss in operating efficiency; a layer of soot or scale just 1/16 of an inch thick can increase your heating bills by up to 15%. Second, neglect drastically shortens equipment lifespan.
A water heater or furnace that should easily last 15 years will often suffer a cracked tank or heat exchanger and die by year 7 if neglected. Finally, you run severe safety risks. Unserviced gas heaters are prone to producing elevated carbon monoxide, experiencing gas leaks, or suffering electrical fires.
Why is my gas water heater making a knocking or rumbling noise?
That alarming knocking, popping, or rumbling noise coming from your basement is the sound of boiling water trapped beneath a thick layer of hardened mineral sediment at the bottom of your tank. As the gas burner heats the bottom of the tank, water trapped under the scale turns to steam and violently erupts through the sediment layer.
This is a clear warning sign that your system is operating under extreme thermal stress, wasting energy, and actively damaging the tank liner. If you hear these sounds, you should schedule a professional flush immediately. Read more about identifying these warnings in our guide on Signs Your Water Heater May Need Repair or Replacement.
Conclusion
Taking care of your home’s gas appliances doesn’t have to be overwhelming. By handling simple DIY tasks like replacing your air filters and keeping the area around your heaters clean, you can keep your system running safely and efficiently all year long. But remember: when it comes to internal cleanings, gas pressure calibrations, and safety tests, nothing beats the peace of mind that comes with professional service.
At VanDerBosch Plumbing Inc., we have served families across Chicagoland—from Chicago and Roselle to Niles, Winnetka, and Melrose Park—for decades. We back our work with a 100% satisfaction guarantee, offer 24/7 emergency availability, and provide completely transparent pricing with absolutely no hidden service charges.
Don’t wait for the first freezing winter morning to find out your heater is struggling. Contact us today to schedule your annual maintenance and keep your home warm, safe, and efficient. Learn more about our comprehensive tank and tankless options on our Water Heater service page.